

This lesson is made with PSPX9
But is good with other versions.
© by SvC-Design

Materialen Download :
Here
******************************************************************
Materials:
PALETTE COULEURS TEST 2 pspimage.png
DECO PERSO 1 195 AVRIL 2023 SWEETY.png
DECO PERSO 2 195 AVRIL 2023 SWEETY.png
SELECTION 1 195.PspSelection
SELECTION 2 195.PspSelection
SELECTION 3 195.PspSelection
SELECTION 4 195.PspSelection
SELECTION 5 195.PspSelection
SELECTION 6 195.PspSelection
SELECTION 7 195.PspSelection
SELECTION 8 195.PspSelection
SELECTION 9 195.PspSelection
475edc3b16fb35255b6bd465dfa3957b.jpg
AVRIL 2023 LAURETTE 27 04 23 SWEETY.png
JANVIER 2023 PENDENTIF COEUR 14 01 23 SWEETY.png
******************************************************************
Plugin:
Effects - plugin - Unlimited 2.0 - Funhouse - Loom
Eefcts - plugin - Simple - Blintz
Effects - plugin - Simple - Top Left Mirror
Effects - plugin - MuRa’s Filter Meister - Perspective Tiling
Eefects - plugin - Carolaine And Sensibility - CH Lines
******************************************************************
color palette
:
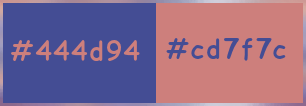
******************************************************************
methode
When using other tubes and colors, the mixing mode and / or layer coverage may differ
******************************************************************
General Preparations:
First install your filters for your PSP!
Masks: Save to your mask folder in PSP, unless noted otherwise
Texture & Pattern: Save to your Texture Folder in PSP
Selections: Save to your folder Selections in PSP
Open your tubes in PSP
******************************************************************
We will start - Have fun!
Remember to save your work on a regular basis
******************************************************************
1.
Choose an image that you like. Take two colors:
Foreground (AVP): Dark / Background (ARP): Light –
Open a new transparent image of 950x600px
Selection - Select All
Open your e5f38c144b25569e1f8025bd51990ea6.jpg
Edit - Copy.
Edit - Paste into selection.
Selection - Select None
Effects - Image Effects - Seamless Tiling- default

2.
Effects - plugin - Unlimited 2.0 - Funhouse - Loom:
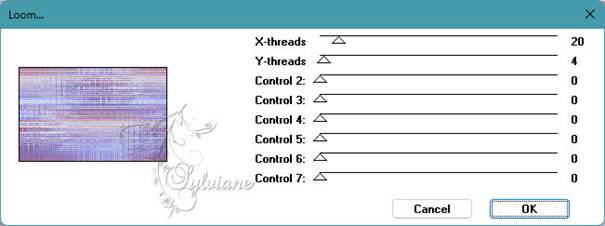
ACCORDING TO YOUR IMAGE (this is what I did on my 1st version):
Effects - Reflection effects - Rotating mirror :
Horiz offset (%): 0 / Rotation angle: 180 / Reflection: Checked
Eefcts - plugin - Simple - Blintz
Apply this effect a 2nd time
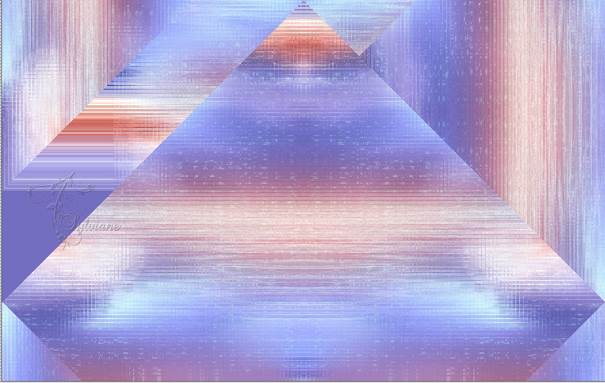

Layers - Duplicate.
Image - Mirror - Horizontal Mirror
Image - Mirror - Vertical Mirror
Opacity of this layer at 50%
Layers - Merge - Merge down.
Adjust - sharpness - unsharp mask

Effects - Reflection effects - Rotating mirror :
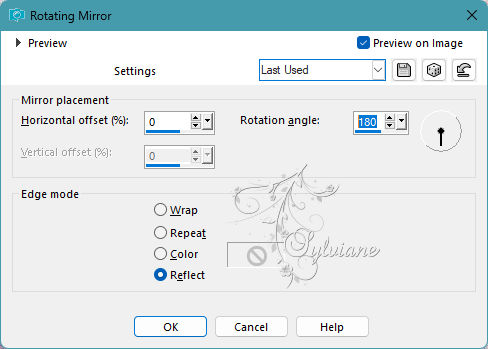
3.
Layers - New raster layer
Selections - Load/Save selection - Load selection from disk : SELECTION 1 195.PspSelection
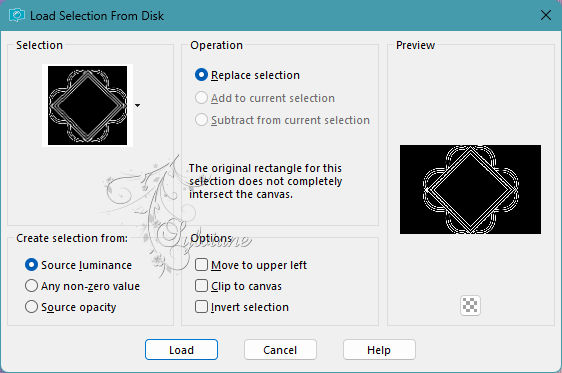
Fill the selection with your AVP color.
Selection - Select None
Effects – 3D effects – inner bevel
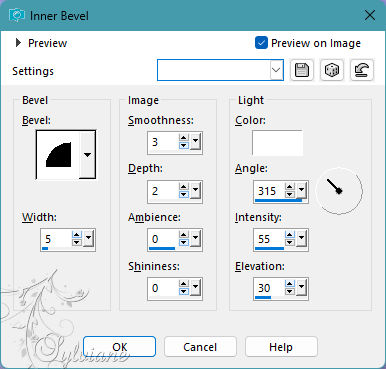
Selections - Load/Save selection - Load selection from disk : SELECTION 2 195.PspSelection

Erase OR delete on the keyboard
Keep the selection active and leave this work on hold ...
We will work on the image of the landscape
4.
Open e5f38c144b25569e1f8025bd51990ea6.jpg
Window - duplicate
We are working on this copy.
Effects - Image Effects - Seamless Tiling - Default
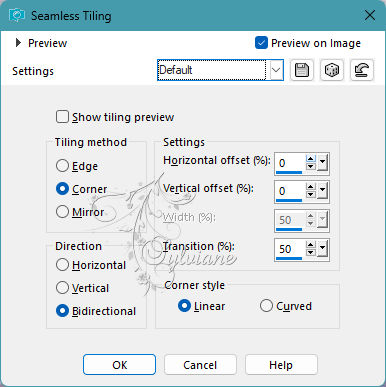
Effects - plugin - Unlimited 2.0 - Funhouse - Loom:

Edit - Copy
Layers - New Raster Layer
Edit - Paste into selection
OPTIONAL DEPENDING ON YOUR IMAGE:
Effects – reflection effects – rotating mirror - configured as follows:
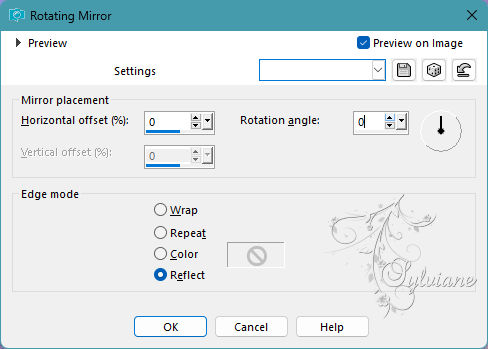
Selections - Invert
Effects - 3 D effects - Drop shadow
0/0/100/30/ Black or Dark color
Selection - Select None
NOTE: DO NOT CLOSE THIS COPY WE WILL NEED IT LATER
5.
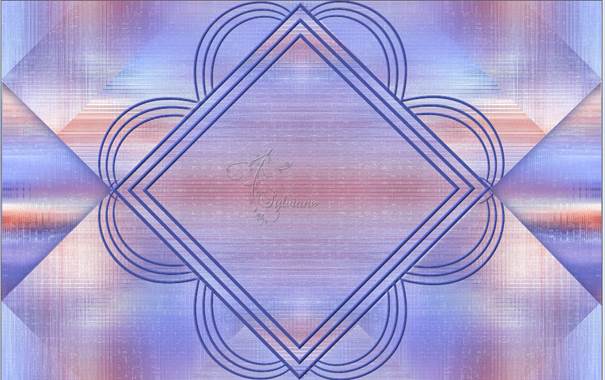
You should have this:
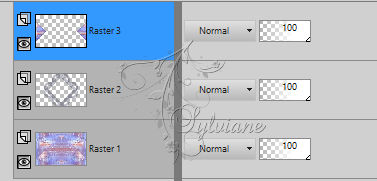
Activate raster 1
Selections - Load/Save selection - Load selection from disk - SELECTION 3 195.PspSelection

Layers - New Raster Layer
Selections - Invert
Effects - 3 D effects - Drop shadow
0/0/100/30/ Black or Dark color
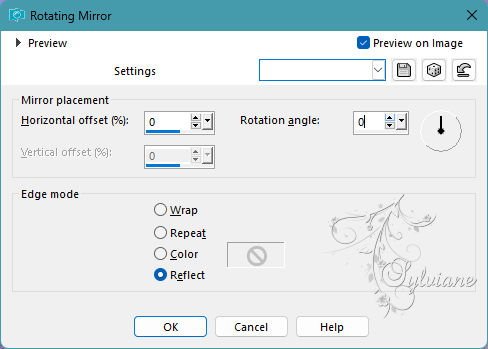
Effects – reflection effects – rotating mirror
Selection - Select None
Layers - Duplicate
Image - Mirror - Vertical Mirror
Layers – merge – merge down
Layers - Duplicate
Opacity of this layer between 60 and 70%
Layers – merge – merge down
6.
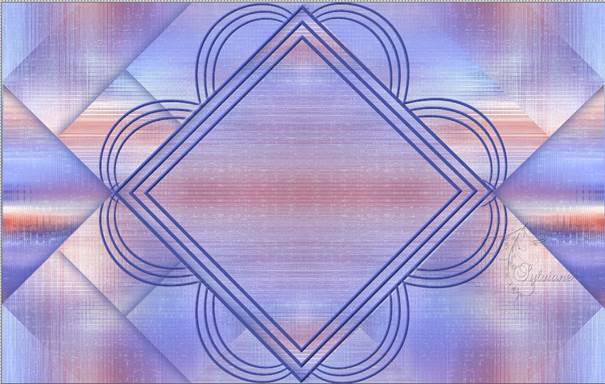
You should have this:
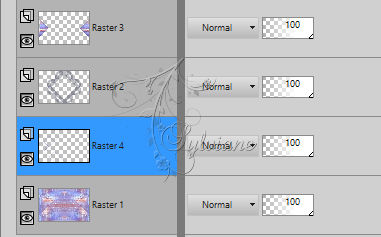
Layers - New Raster Layer
Selections - Load/Save selection - Load selection from disk - SELECTION 4 195.PspSelection
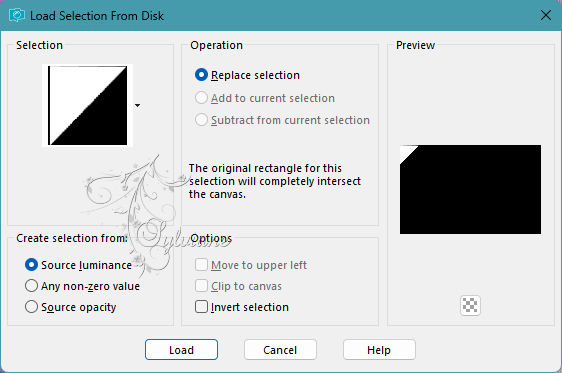
Open 475edc3b16fb35255b6bd465dfa3957b.jpg
Edit - Copy.
Edit - Paste into selection. (The original not the copy)
Selections - Invert
Effects - 3 D effects - Drop shadow
0/0/100/30/ Black or Dark color
Selection - Select None
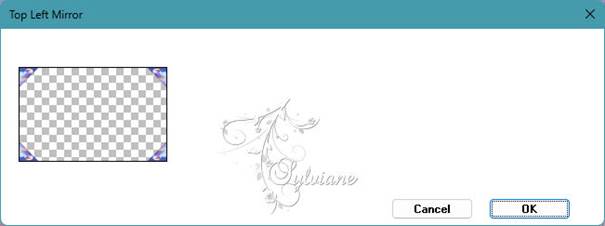
Effects - plugin - Simple - Top Left Mirror
7.
Open DECO PERSO 1 195 AVRIL 2023 SWEETY.png
Edit - Copy
Edit - Paste as new layer
Do not move it is in its place
Blendmode : Luminance (legacy)
Layers - New Raster Layer
Selections - Load/Save selection - Load selection from disk - SELECTION 5 195.PspSelection
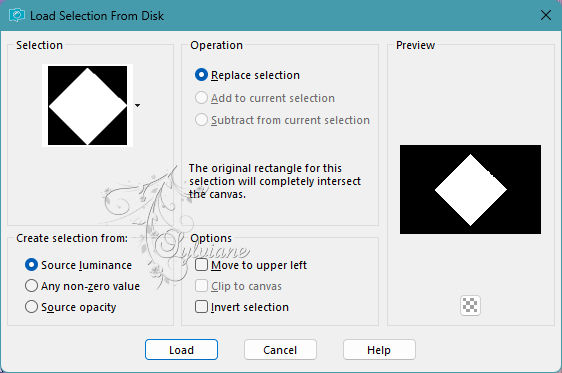
Selections – modify – expand - 2px
Open Open e5f38c144b25569e1f8025bd51990ea6.jpg
Edit - Copy
Edit - Paste into selection (The original not the copy)
Selections - Invert
Effects - 3 D effects - Drop shadow
0/0/100/30/ Black or Dark color
Selection - Select None
Layers – arrange – move down
8.
Result for now:

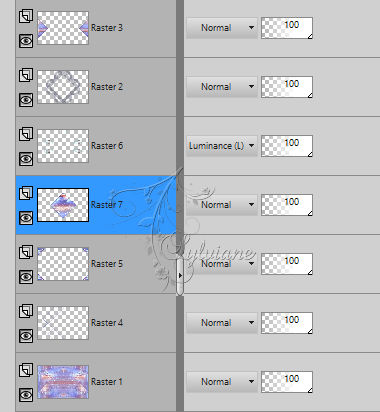
Selections - Load/Save selection - Load selection from disk - SELECTION 6 195.PspSelection
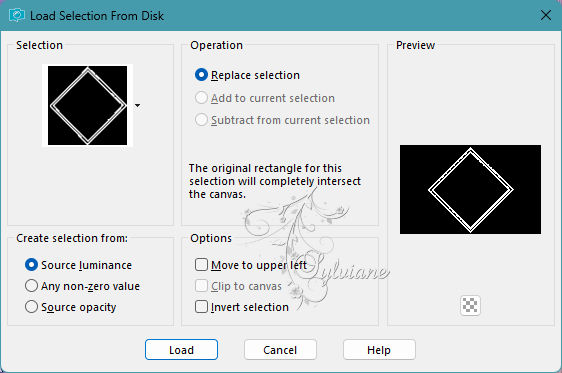
Activate Raster 6 (Raster 6 the personal decoration 1 195) -
Erase OR delete on the keyboard
Selection - Select None
Open DECO PERSO 2 195 AVRIL 2023 SWEETY.png
Edit - Copy
Edit - Paste as new layer
Do not move it is in its place
Blendmode : Luminance (legacy)
Effects - user defined filter - Emboss 3:
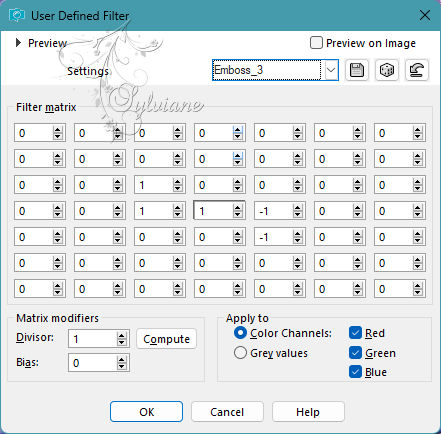
9.
Image – Add Borders –symmetric - 2px - color AVP
Image – Add Borders –symmetric - 4px - color ARP
Image – Add Borders –symmetric - 2px - color AVP
Selection - Select All
Image – Add Borders –symmetric - 40px - regardless of color
Effects - Image Effects - Seamless Tiling
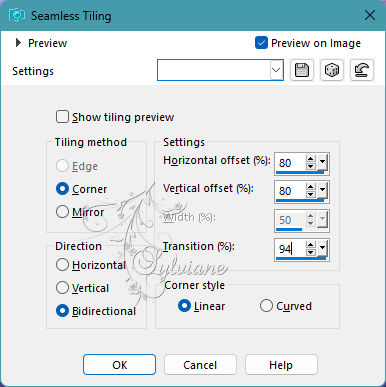
Selections - Invert
Selections – Promote selections to layer
Selection - Select None
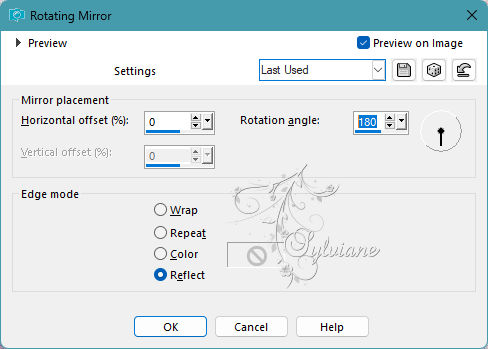
We get this and we are on * Transformed selection *:

Effects – reflection effects – rotating mirror - configured as follows:
10.
Activate Activate Promoted Selection
Activate Selection - Custom selection
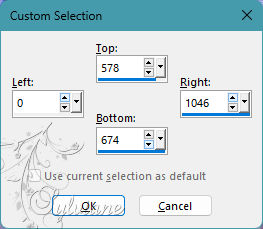
Selections – Promote selections to layer
Selection - Select None
Layers - Duplicate
Image - Mirror - Vertical Mirror
Layers – merge – merge down (2x)
11.
Selections - Load/Save selection - Load selection from disk - SELECTION 7 195.PspSelection
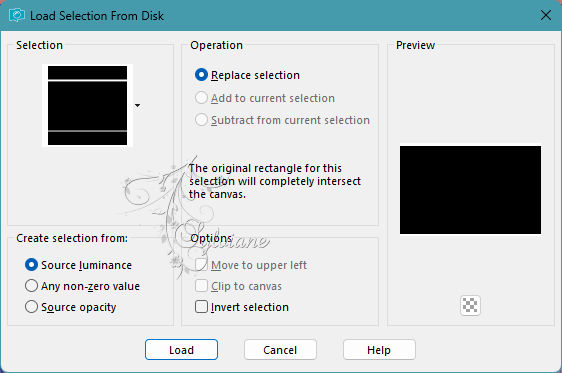
Adjust - blur - gaussian blur
Radius 20
Selection - Select None
Activate Background
Activate Selection - Custom selection
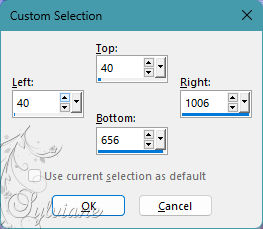
Selections – Promote selections to layer
Selection - Select None
Effects - 3 D effects - Drop shadow
0/0/100/30 - color: Black
Actiavte background
Effects - Image Effects - Seamless Tiling - default:
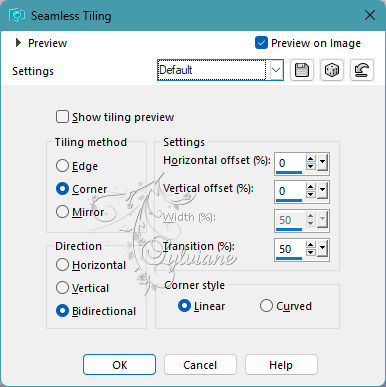
(We see nothing it's normal no panic)
12.
Activate Promoted Selection
Activate Selection - Custom selection
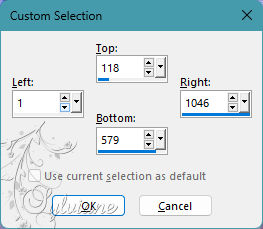
Erase OR delete on keyboard
Selection - Select None
Result :
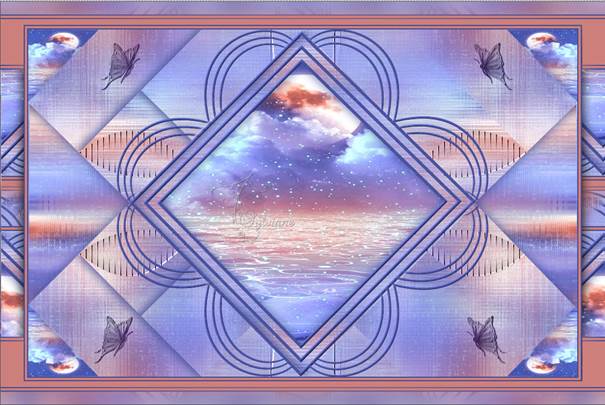
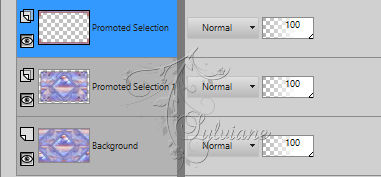
13.
Always at the top of the stack (Promoted Selection)
Effects - 3 D effects - Drop shadow
0/0/100/30 - color: Black
Selections - Load/Save selection - Load selection from disk - SELECTION 7 195.PspSelection
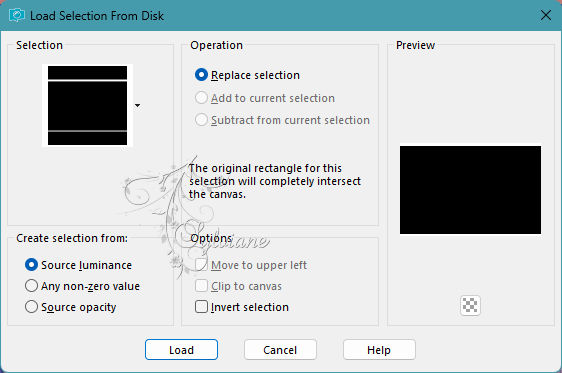
Copy/paste into the selection the copy of our landscape image created in step 4
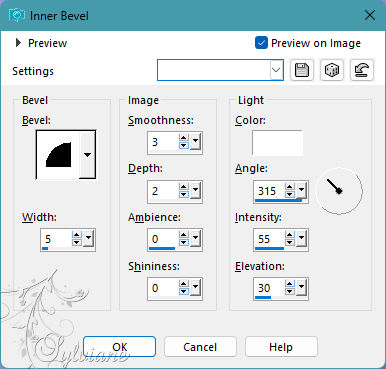
Effects – 3D effects – inner bevel
Selection - Select None
14.
Selections - Load/Save selection - Load selection from disk - SELECTION 8 195.PspSelection
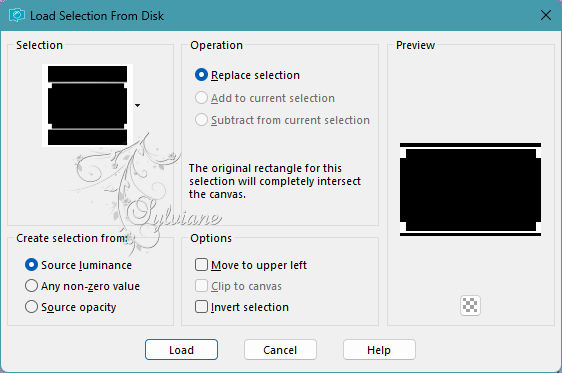
Eefects - plugin - Carolaine And Sensibility - CH Lines - par défaut
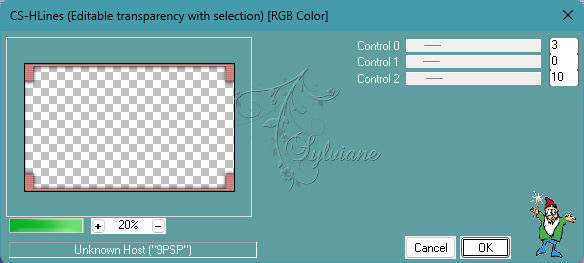
Selection - Select None
Image – Add Borders –symmetric - 2px - color AVP
15.
Selections - Load/Save selection - Load selection from disk - SELECTION 9 195.PspSelection
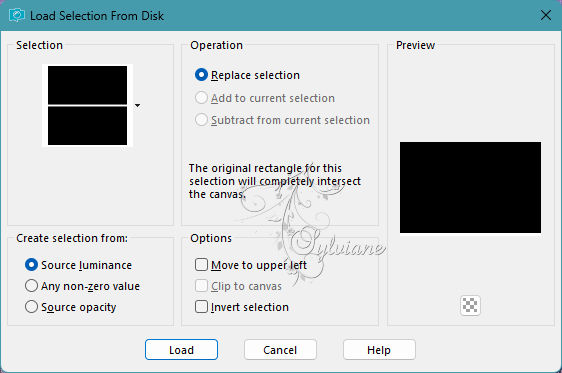
Selections – Promote selections to layer
Selection - Select None
Layers - New Raster Layer
Selection - Select All
Copy/paste into the selection the copy of our landscape image created in step 4
Selection - Select None
Layers – arrange – move down
Effects - plugin - MuRa’s Filter Meister - Perspective Tiling
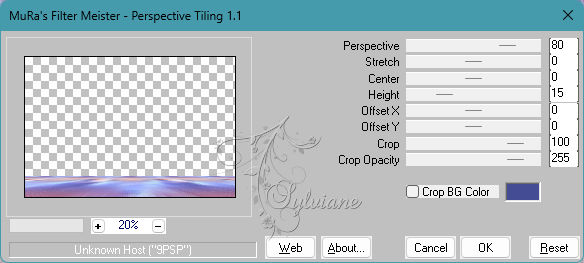
Tool==>magic wand: Tolerance: 0 / Progressiveness to 60


Click in the transparent part... Erase or delete on keyboard +/- 5 times
Selection - Select None
16.
Open AVRIL 2023 LAURETTE 27 04 23 SWEETY.png
Edit - Copy
Edit - Paste as new layer
resize if necessary
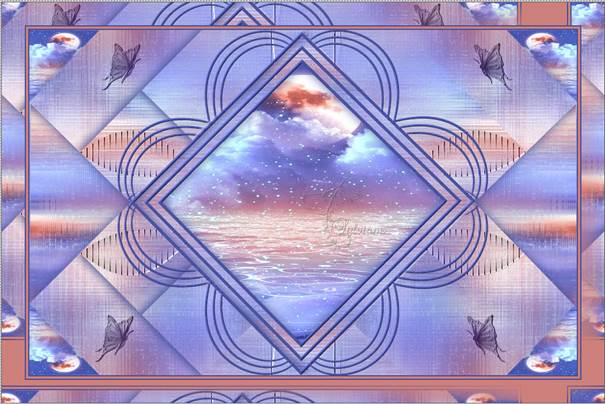
place it as in the example
open JANVIER 2023 PENDENTIF COEUR 14 01 23 SWEETY.png
Edit - Copy
Edit - Paste as new layer
resize if necessary
place it as in the example
Effects - 3 D effects - Drop shadow
0/0/100/30 - color: Black
Image – Add Borders –symmetric - 4px - color ARP
Image – Add Borders –symmetric - 2px - color AVP
17.
place the author's watermark on it
Put your watermark on it.
Layers - Merge - Merge all layers
Image - Resize : 950 px, width, resize all layers checked.
Save as JPEG
Back
Copyright Translation 2023 by SvC-Design